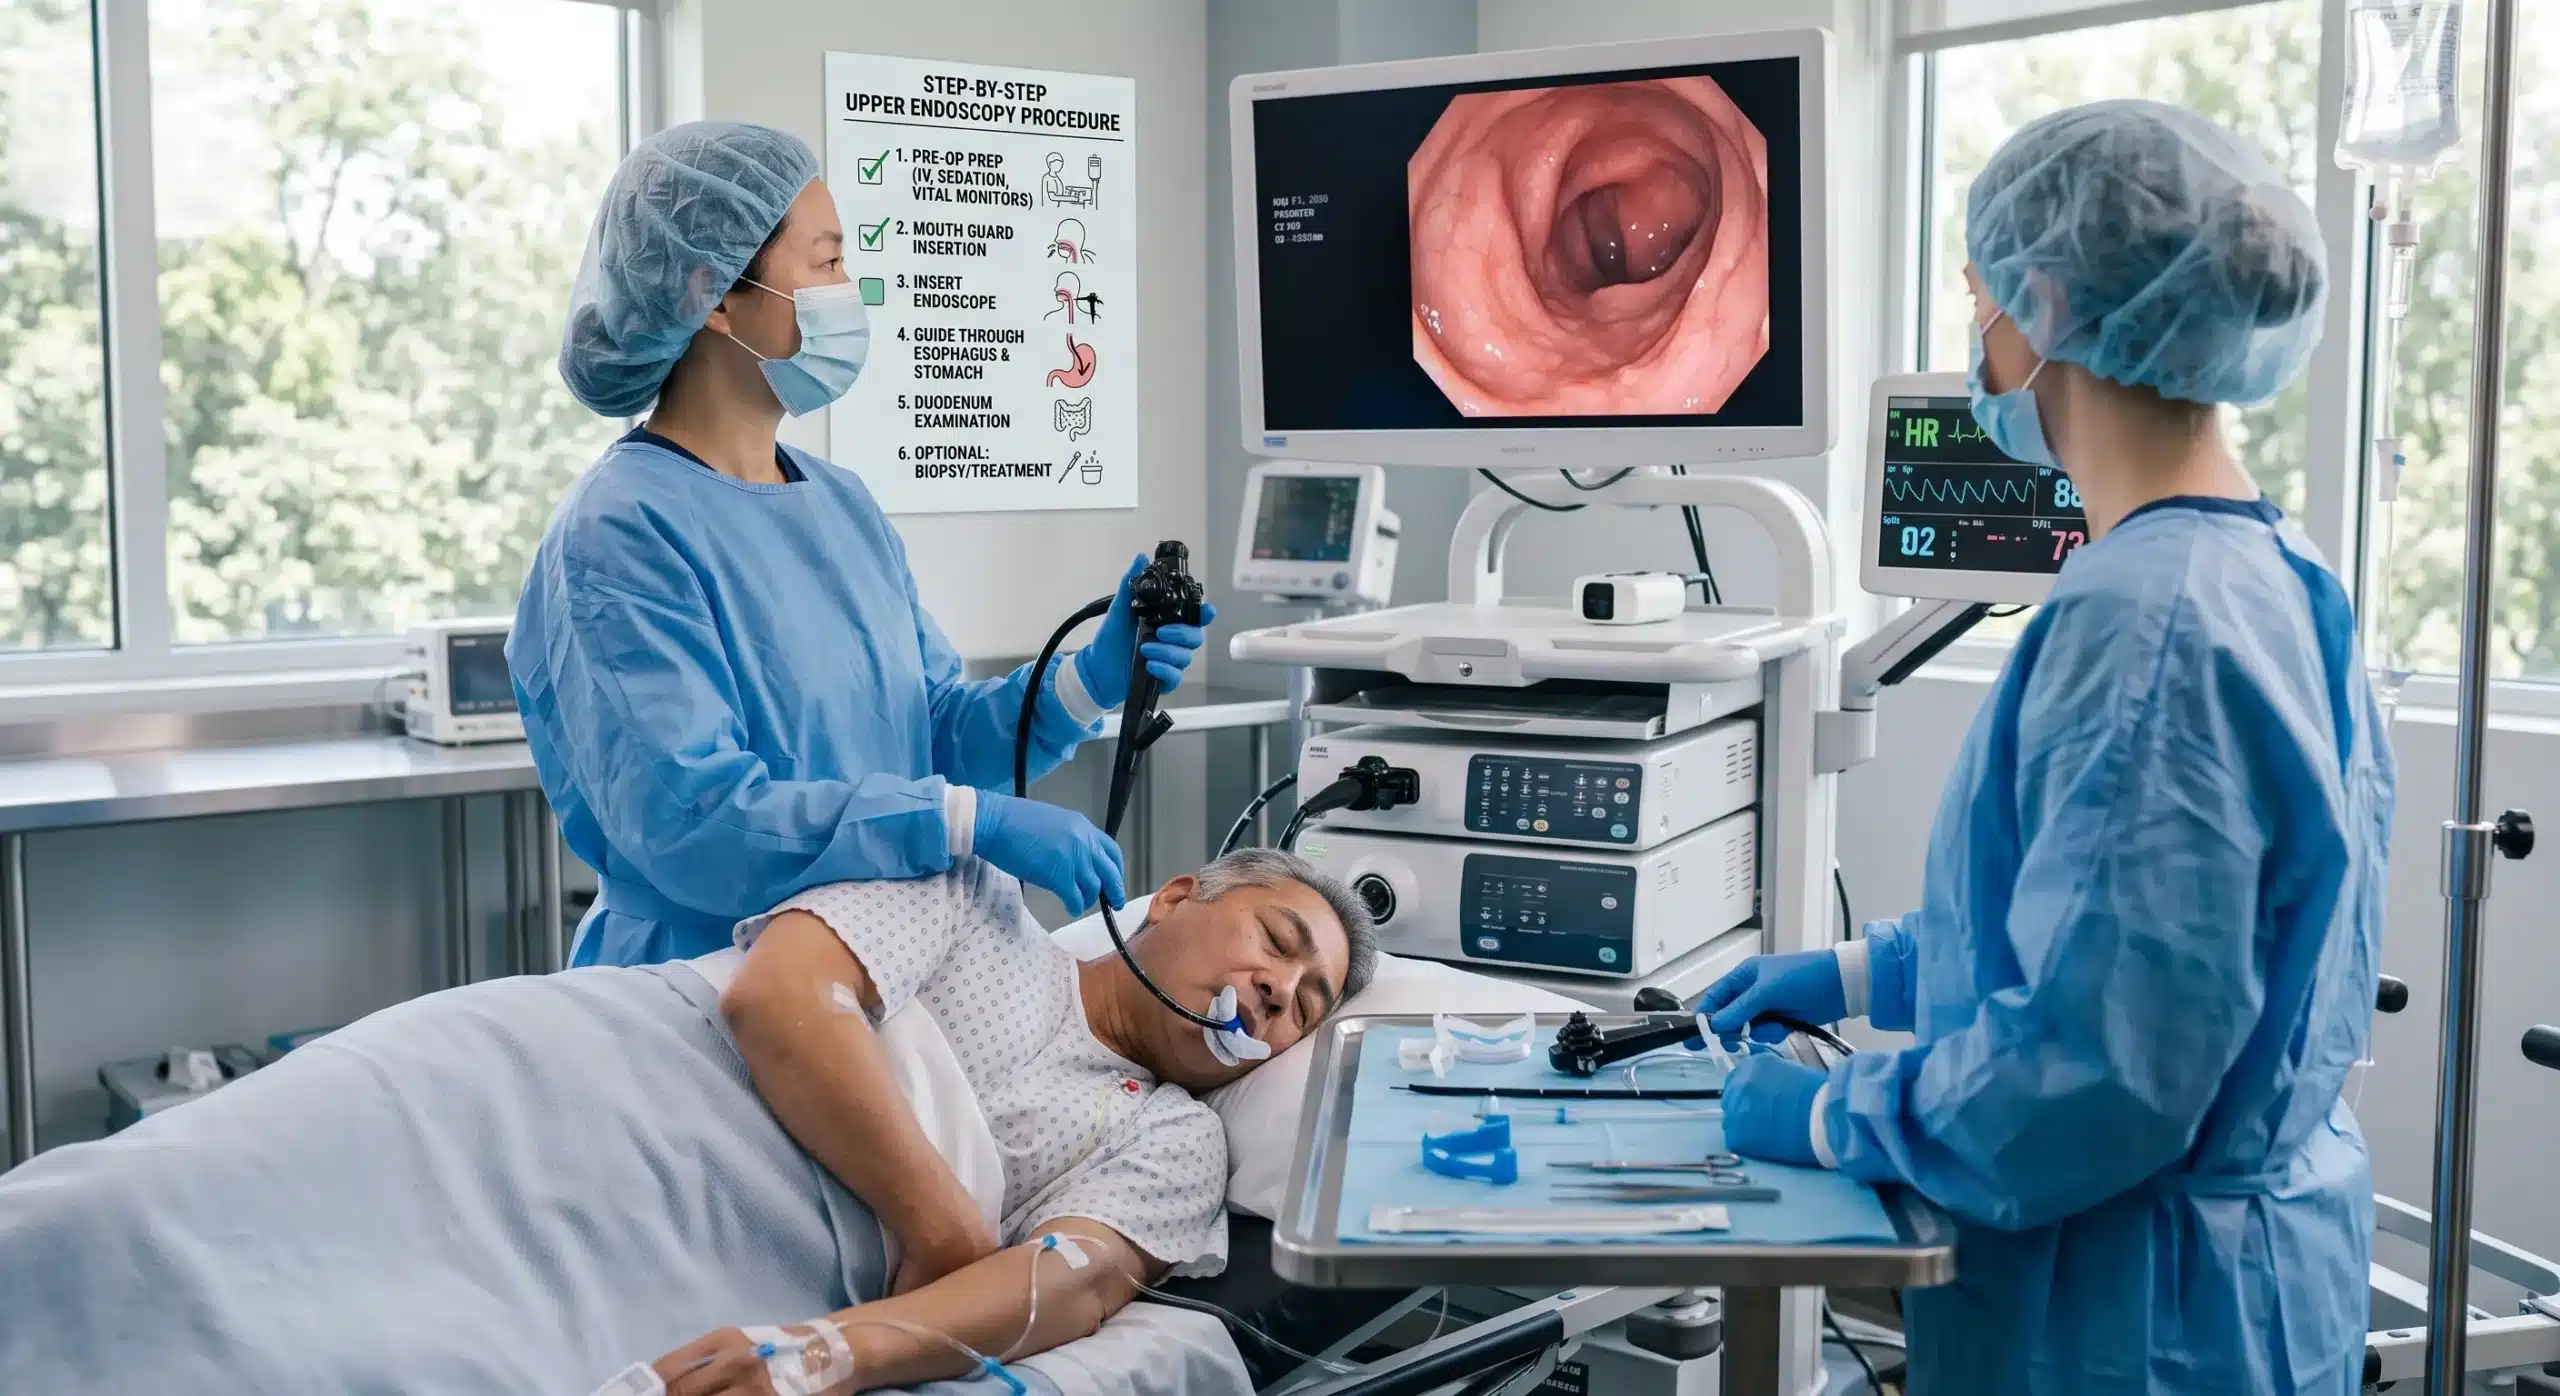
Being told that you need a medical procedure can easily trigger feelings of apprehension and anxiety. For many patients, the fear of the unknown is often much worse than the procedure itself. If your doctor has recommended a gastrointestinal screening to investigate your stomach issues, your first thought is likely: how is the endoscopy done?
It is a completely normal reaction to feel nervous about having a medical instrument examine your internal organs. However, modern medical technology has transformed the upper endoscopy (also known as a gastroscopy) into a routine, highly controlled, and incredibly safe diagnostic tool.
By removing the mystery surrounding the examination room, you can approach your appointment with confidence and a peace of mind. In this comprehensive guide, we will break down exactly what the procedure for an endoscopy is, from the moment you arrive at the clinic to your recovery, so you know precisely what to expect the endoscopy day to look like. If you are still unsure whether an endoscopy is the right next step, see our guide on when an endoscopy becomes necessary.
Step 1: Arrival and Pre-Procedure Preparation
Your journey begins before you even enter the procedure room. Upon arriving at the medical centre, you will be greeted by a nursing team who will help prepare you for the examination.
First, they will review your medical history and confirm that you have strictly followed the pre-procedure fasting guidelines. This typically involves an 8-hour fast from solid foods to ensure your stomach is completely empty [2]. They will also check your current list of medications, which is a crucial safety step to ensure you are fully cleared for the examination [2].
Next, the medical team will ask you to change into a comfortable hospital gown. Once you are ready, a nurse will take your baseline vital signs, including your blood pressure, heart rate, and oxygen levels [1]. Finally, a small intravenous (IV) line will be inserted into a vein in your arm or hand. This IV line is essential, as it will be used later to administer the sedative medications that will keep you comfortable [1].
Step 2: Ensuring Your Absolute Comfort
One of the biggest concerns patients have regarding what to expect during an endoscopy is the fear of gagging or experiencing pain as the tube is inserted. To ensure a comfortable stress-free experience, the medical team uses a two-step comfort approach:
- Throat Numbing: Before any medication is administered through your IV, the medical staff will apply a local anesthetic spray directly into the back of your throat [2]. This spray works rapidly to numb the area, suppressing your natural gag reflex and ensuring you will not feel any pain when the endoscope is introduced [2].
- Conscious Sedation: Once your throat is numb, the doctor will administer a sedative and a mild pain reliever through your IV line [1]. You will not be fully unconscious, but you will enter a state of deep, profound relaxation [3]. Most patients become so drowsy that they fall into a light sleep and wake up with absolutely no memory of the procedure [3].
You will then be asked to lie comfortably on your left side on the examination bed [3]. A small, soft plastic mouthguard is placed between your teeth to keep your mouth safely open and protect your teeth and the equipment [1].
Step 3: The Examination Process
Now that you are completely relaxed, the actual examination begins. The procedure involves the careful navigation of an endoscope which is a thin, flexible tube equipped with a powerful light and a high-definition micro-camera at its tip [2].
- Insertion: The gastroenterologist gently guides the endoscope through the protective mouthguard, past your numbed throat, and down your esophagus [3]. It will not interfere with your breathing [1].
- Visualisation: As the tube moves downwards into your stomach and the duodenum (upper small intestine), the camera transmits bright, highly detailed video images to a monitor in the procedure room [2].
- Inflation: To get a clear view, the doctor will gently pump a small amount of air through the endoscope to slightly inflate your stomach [1]. This smoothes out the natural folds of your stomach lining so that no area goes unseen [1]. You might feel a sensation of mild pressure or fullness [1].
- Inspection and Biopsy: The doctor carefully examines the tissues for signs of inflammation, ulcers, polyps, or tumours [3]. If they spot an abnormal area, they can pass microscopic surgical tools through a hollow channel in the endoscope to take a tiny, painless tissue sample (a biopsy) for laboratory testing [2].
The entire procedure is remarkably quick and highly efficient, typically lasting only 10 to 15 minutes from start to finish [1].
Step 4: Recovery and Getting Your Results
Once the doctor has completed the examination, the endoscope is gently withdrawn. You will then be moved to a quiet, comfortable recovery area.
You will remain in the recovery room for about 30 to 60 minutes while the medical staff monitors your vital signs as the sedative medications gradually wear off [2]. As you wake up, you might feel a bit groggy or disoriented, which is exactly why you are required to have a trusted friend or family member drive you home [2].
You may experience a few minor side effects, such as a mildly scratchy throat from the numbing spray or temporary bloating from the air used to inflate your stomach [1]. These symptoms are harmless and typically resolve on their own within a few hours [1].
Before you leave the medical centre, your gastroenterologist will likely discuss the initial visual findings with you [2]. If a biopsy was taken, those specific tissue results will take a few days to be processed by a pathology lab [2].
Prioritise Your Digestive Health Today
As Health Minister Datuk Seri Dr. Dzulkefly Ahmad noted in 2024, colorectal cancer ranks among the leading causes of mortality in Malaysia, placing it within the top five cancers affecting the population. Maintaining digestive health and detecting potential issues early on is crucial for your overall wellbeing.
This is why our ambulatory care centre features a fully equipped procedure room to ensure comprehensive screenings can be done to detect any anomalies early on. Understanding the examination process is the first step toward taking proactive control of your health. Do not let fear or uncertainty prevent you from getting the essential diagnostic care you need.
Take the right step for your future today. Visit ACC Evesuite Medical Centre – Gastroscopy and Colonoscopy to learn more about our state-of-the-art facilities or to book a consultation with our experienced medical specialists.
References
Cleveland Clinic (2022). EGD Procedure (Upper Endoscopy). Cleveland Clinic Health Library. Available at: [https://my.clevelandclinic.org/health/procedures/22549-egd-procedure-upper-endoscopy] (Accessed: 1 July 2026).
National Institute of Diabetes and Digestive and Kidney Diseases (NIDDK) (2020). Upper GI Endoscopy. U.S. Department of Health and Human Services. Available at: [https://www.niddk.nih.gov/health-information/diagnostic-tests/upper-gi-endoscopy] (Accessed: 1 July 2026).
Ehsan, M. and Iqbal, P. (2025). Esophagogastroduodenoscopy, in StatPearls. Treasure Island (FL): StatPearls Publishing. Available at: [https://www.ncbi.nlm.nih.gov/books/NBK532268/] (Accessed: 1 July 2026).
Medically reviewed by
Dr Abigail Ann Maathai
MD (Universitas Sumatera Utara)
Dr Abigail Ann Maathai is a primary care physician with experience in hospital and clinical settings. She currently practises within the Qualitas Health Kumpulan Medic network, providing primary care, ultrasound and X-ray services.
Our medical reviewers are part of Qualitas Health Group, of which ACC is a member through Qualitas Health Malaysia.